Back To Articles
Pair your Google Mini with thousands of audiobooks!
Get an Audible Premium Plus Free Trial and enjoy hands-free storytelling.
Get an Audible Premium Plus Free Trial and enjoy hands-free storytelling.
Contents
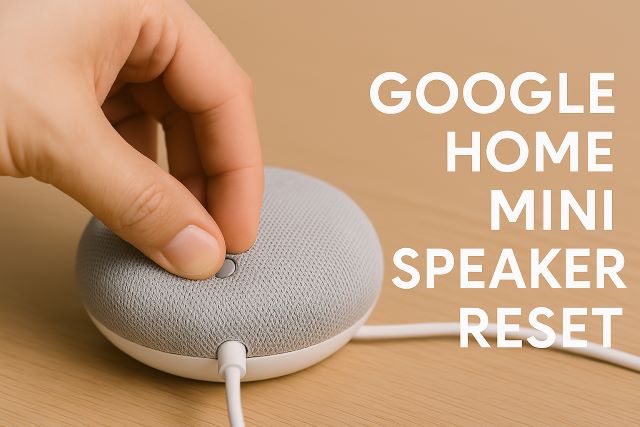
Google Home Mini Speaker Reset – Quick and Easy Instructions
If your Google Home Mini speaker is unresponsive or not functioning properly, a reset might be the solution. This guide will show you how to perform a reset on both the 1st and 2nd generation models safely and effectively.
When Should You Reset Your Google Home Mini?
You should consider resetting your device if:
- It’s not responding to voice commands
- You’re experiencing connectivity issues
- You’re giving it to someone else
- You want to start fresh with a new setup
How to Reset the 1st Generation Google Home Mini
The original Google Home Mini does not have a dedicated reset button. Instead, follow these steps:
- Make sure the speaker is plugged in and powered on.
- Locate the small, circular button under the power cord on the base of the device.
- Press and hold this button for about 15 seconds.
- You’ll hear a confirmation from Google Assistant that the reset process has started.
How to Reset the 2nd Generation Google Nest Mini
The Nest Mini has a microphone mute switch on the side, which you’ll use to initiate the reset:
- Slide the microphone switch to the off position (orange indicator will appear).
- Wait a few seconds until the lights turn orange.
- Press and hold the center of the speaker (where the lights are) for about 15 seconds.
- You’ll hear the reset chime and Google Assistant will confirm the reset.
Soft Reset vs. Factory Reset
A soft reset simply means unplugging the device, waiting 10 seconds, and plugging it back in. This is useful for minor bugs or connectivity drops. A factory reset, on the other hand, removes all user data and returns the speaker to its original state.
Tips After Resetting Your Speaker
- Open the Google Home app to reconfigure your device.
- Ensure your Wi-Fi connection is stable before setup.
- Place your speaker in a location with minimal echo or background noise for better voice recognition.